 |
| To Clean or Not to Clean Vintage Porcelain Glove Molds? |
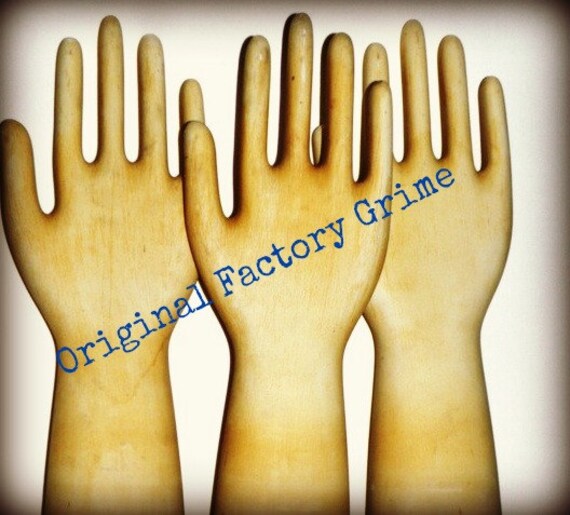
Most vintage glove molds you will show evidence of their former life. Some may have been the "lucky ones" unused and boxed up in the factory for extras. There are two types of glove molds , Glazed, and Unglazed. You first have to decide, do you want to clean them? If you do, you are removing their layer of industrialism from the original mold. In some cases, this dirt and grime is considered fabulous, and the industrialist will appreciate it. Otherwise, if tres' shabby chic, you may wish to get this dirt off the mold, to display it in a more acceptable state.
Difference in Cleaning Glazed or Unglazed Porcelain Glove Molds
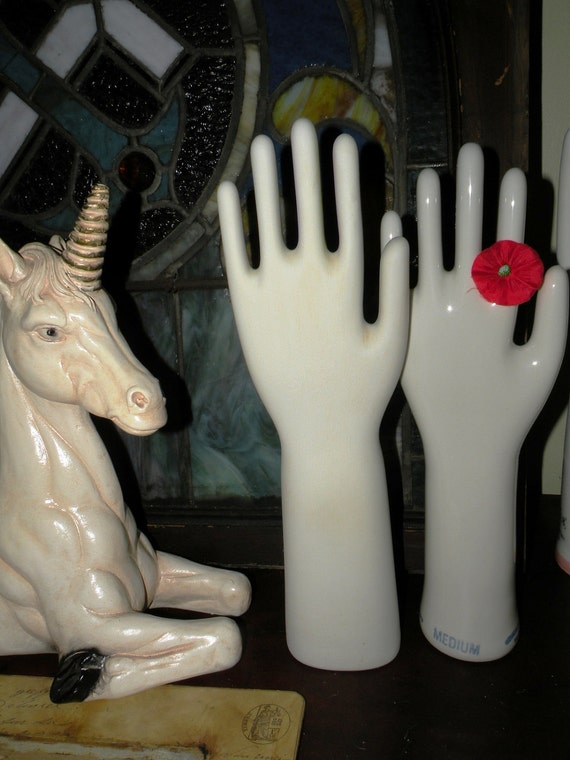
The Glazed porcelain glove molds have a protective layer of glaze over top them, meaning they are shiny in appearance. Most dirt and grime lays only on the surface of this layer and can be gently scrubbed off soap and a scrubbie. Damage to the glove mold such as small nicks on the base may be evident, as this was where it was attached to the glove mold machine. Some staining will most likely in the same area, and this on the base is very hard to deal with. I consider it evidence of it's former life and leave it be.
 |
| Stains like this "yellowed" look are common on porous unglazed vintage glove molds. |
The Unglazed porcelain glove mold is more of an issue to clean. Being that the surface does not have a protective layer, it more porous and will have soaked up years of grime and filth. Some of the yellow appearance you see on the Vintage Hall China Glove Molds are due to the actual factory using them to mold Latex Gloves. The glove mold was coated with a type of powder or glue, then dipped in a vat of hot latex. After cooling, the latex was pulled off the mold and voila, a rubber glove. So these glove molds have earned their right to be grimy.
 |
| Believe it or not, the glove mold on the left was just as grimey, and has been cleaned using the methods below. |
For the discerning dirt-phobic this could be a huge problem. Cleaning will occur in stages, and will take patience. You can remove up to 90% of this grime. Here are the steps to do so:
- Put on some latex or rubber gloves. Ironic, isn't it? You are about to dive into bleach hell.
- Assemble your tools: A scrubbie (scotch green side scrubbie) and lots of Comet Power are needed.
- Doust the mold under hot running water to saturate it and open the pores of the mold.
- Sprinkle comet powder on the surface and start scrubbing it around. .
- Coat the whole mold, and let sit until the paste becomes half dry.
- Rinse, repeat until the grime is removed.
- Reward yourself for success by taking five and patting yourself on the back.